Services Provided
The service provider was not hired.
Experience and Good Comments
Before you start:
- Make sure your table saw and/or miter saw are calibrated
- Get some scrap wood to test your cut before using the desired material. Whatever solid wood you choose, it's likely more expensive than a piece of scrap wood. You can use plywood for testing, but do NOT use plywood for the final product.
Cost:
- Depends on the kind and quality of your chosen wood. Do NOT use plywood, trust me!
Tools I used:
- Table saw (to do precise dimension cuts; to make tongue for the middle piece; to make dado/groove for the side pieces)
- Optional: Miter saw (to cut perfect 45 degree angles; this can also be done on the table saw if you have a precise miter gauge)
- Router with whatever artistic bit you like for the design
- Optional: Router table (makes routing parts much easier)
- Random orbit sander with 80 & 120 grit sand paper (smoothing the surface)
- Strap Clamp
- Wood glue
- Wood filler
- Tack cloth (final dust removal & wipe off)
- Finish of your choice (lacquer, polyurethane, primer, paint etc.)
Major steps:
1) Measure the size of the drawer face / cabinet door you need to make. Decide how wide you like your edge pieces to be (I used 2 inches).
2) Based on your determined edge width, determine the size you need to cut for the middle piece. Be sure to factor in the size for the tongue. For example: If I'm making a 36 inch x 24 inch cabinet door, with 2 inch wide sides and 1/8 inch tongue, the size of the middle piece needs to be 32 1/4 inch x 20 1/4 inch.
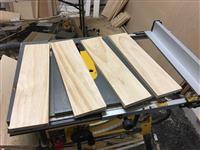
3) Cut your middle piece based on your calculated size (Figure01)
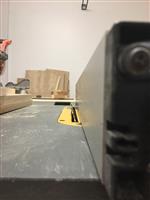
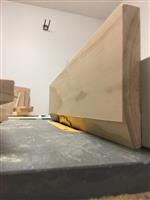
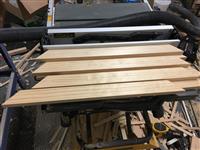
4) Set your table saw blade to 19 degrees (Figure02), make sure the blade leaves the edge when cutting the middle piece (that forms a rectangle). This is a good time to use your scrap wood for testing. For 3/4 inch thick wood, I set the fence to 9/16 inch. Figure03 shows what it looks like after one cut
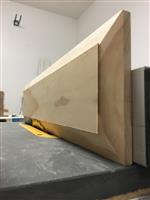
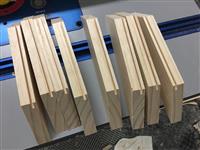
5) Cut all 4 edges of the middle piece (Figure 04)
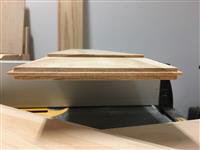
6) Use the table saw to trim the middle rectangle (as the edges are angled due to the 19 degree cut). Also use the table saw to make the tongue on 4 sides of the middle piece (Figure05, Figure06)
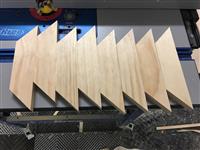
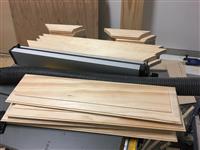
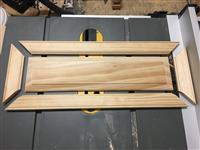
7) Cut the side pieces with precisely 45 degree angles. Even a one degree difference will leave a gap at the final assembly. The shorter side of the isosceles trapezoid needs to be precisely the length of the middle piece, minus the length for the tongue. For example: If I'm making a 36 inch x 24 inch cabinet door with 2 inch wide sides, the The shorter side of two of the the 45 degree isosceles trapezoid will be 32 inches, and the other two being 20 inch (Figure07, Figure08).
8) Use the table saw to make the dado/groove on the short side of ALL isosceles trapezoid pieces. The depth does not need to be precise as long as it provides enough space for the middle piece's tongue (Figure09).
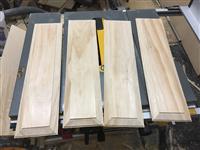
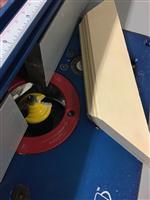
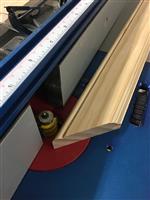
9) Use the router to make the design for the side pieces (Figure10, Figure11).
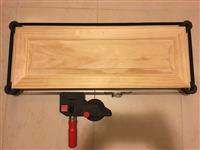
10) Assemble with wood glue (Figure13). Strap clamp makes it easy to hold all pieces together while the glue is drying (Figure14)
11) Once the glue is dried, use wood filler to fill any apparent gaps.
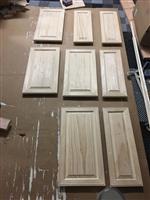
12) Sand & clean. Ready to apply finishing (Figure15)
Not-So-Good Comments
None

